News and Events

Keep up to date with the latest news and events of Modular Bikes.

Tuesday, October 12, 2021

Fixing 50 bikes, 33, Suzies Graduate

Cyclops Graduate

Drilled a hole through the stand retaining plate so the gear cable went through neatly

This is a before photo! This gizmo was securing the rear rack, not that well.

The right bearing cap was hard to remove and I worked this out, by tightening a large bolt onto the cap, and then keeping on turning, the cap eventually comes out.

Here is the whole assembly, I put an aluminium tube in it so the bearing surface wouldn't be damaged. I replaced this bearing cap with one with some flats on it.


Hi

This bike was dropped off by our friend Suzie, and the pedals had cotter pins, and the bearing cage had disintegrated inside the bottom bracket, so she wasn't a very happy bike. So quite good progress today, gears and bottom bracket are restored, tomorrow I will do a switcheroo on the rack and should be able to finish it off.

Monday, October 11, 2021

New Bike part 11, the bike that named itself.

Trial (top) and final tail box back.

went into this! Small plywood piece is tailbox latch.

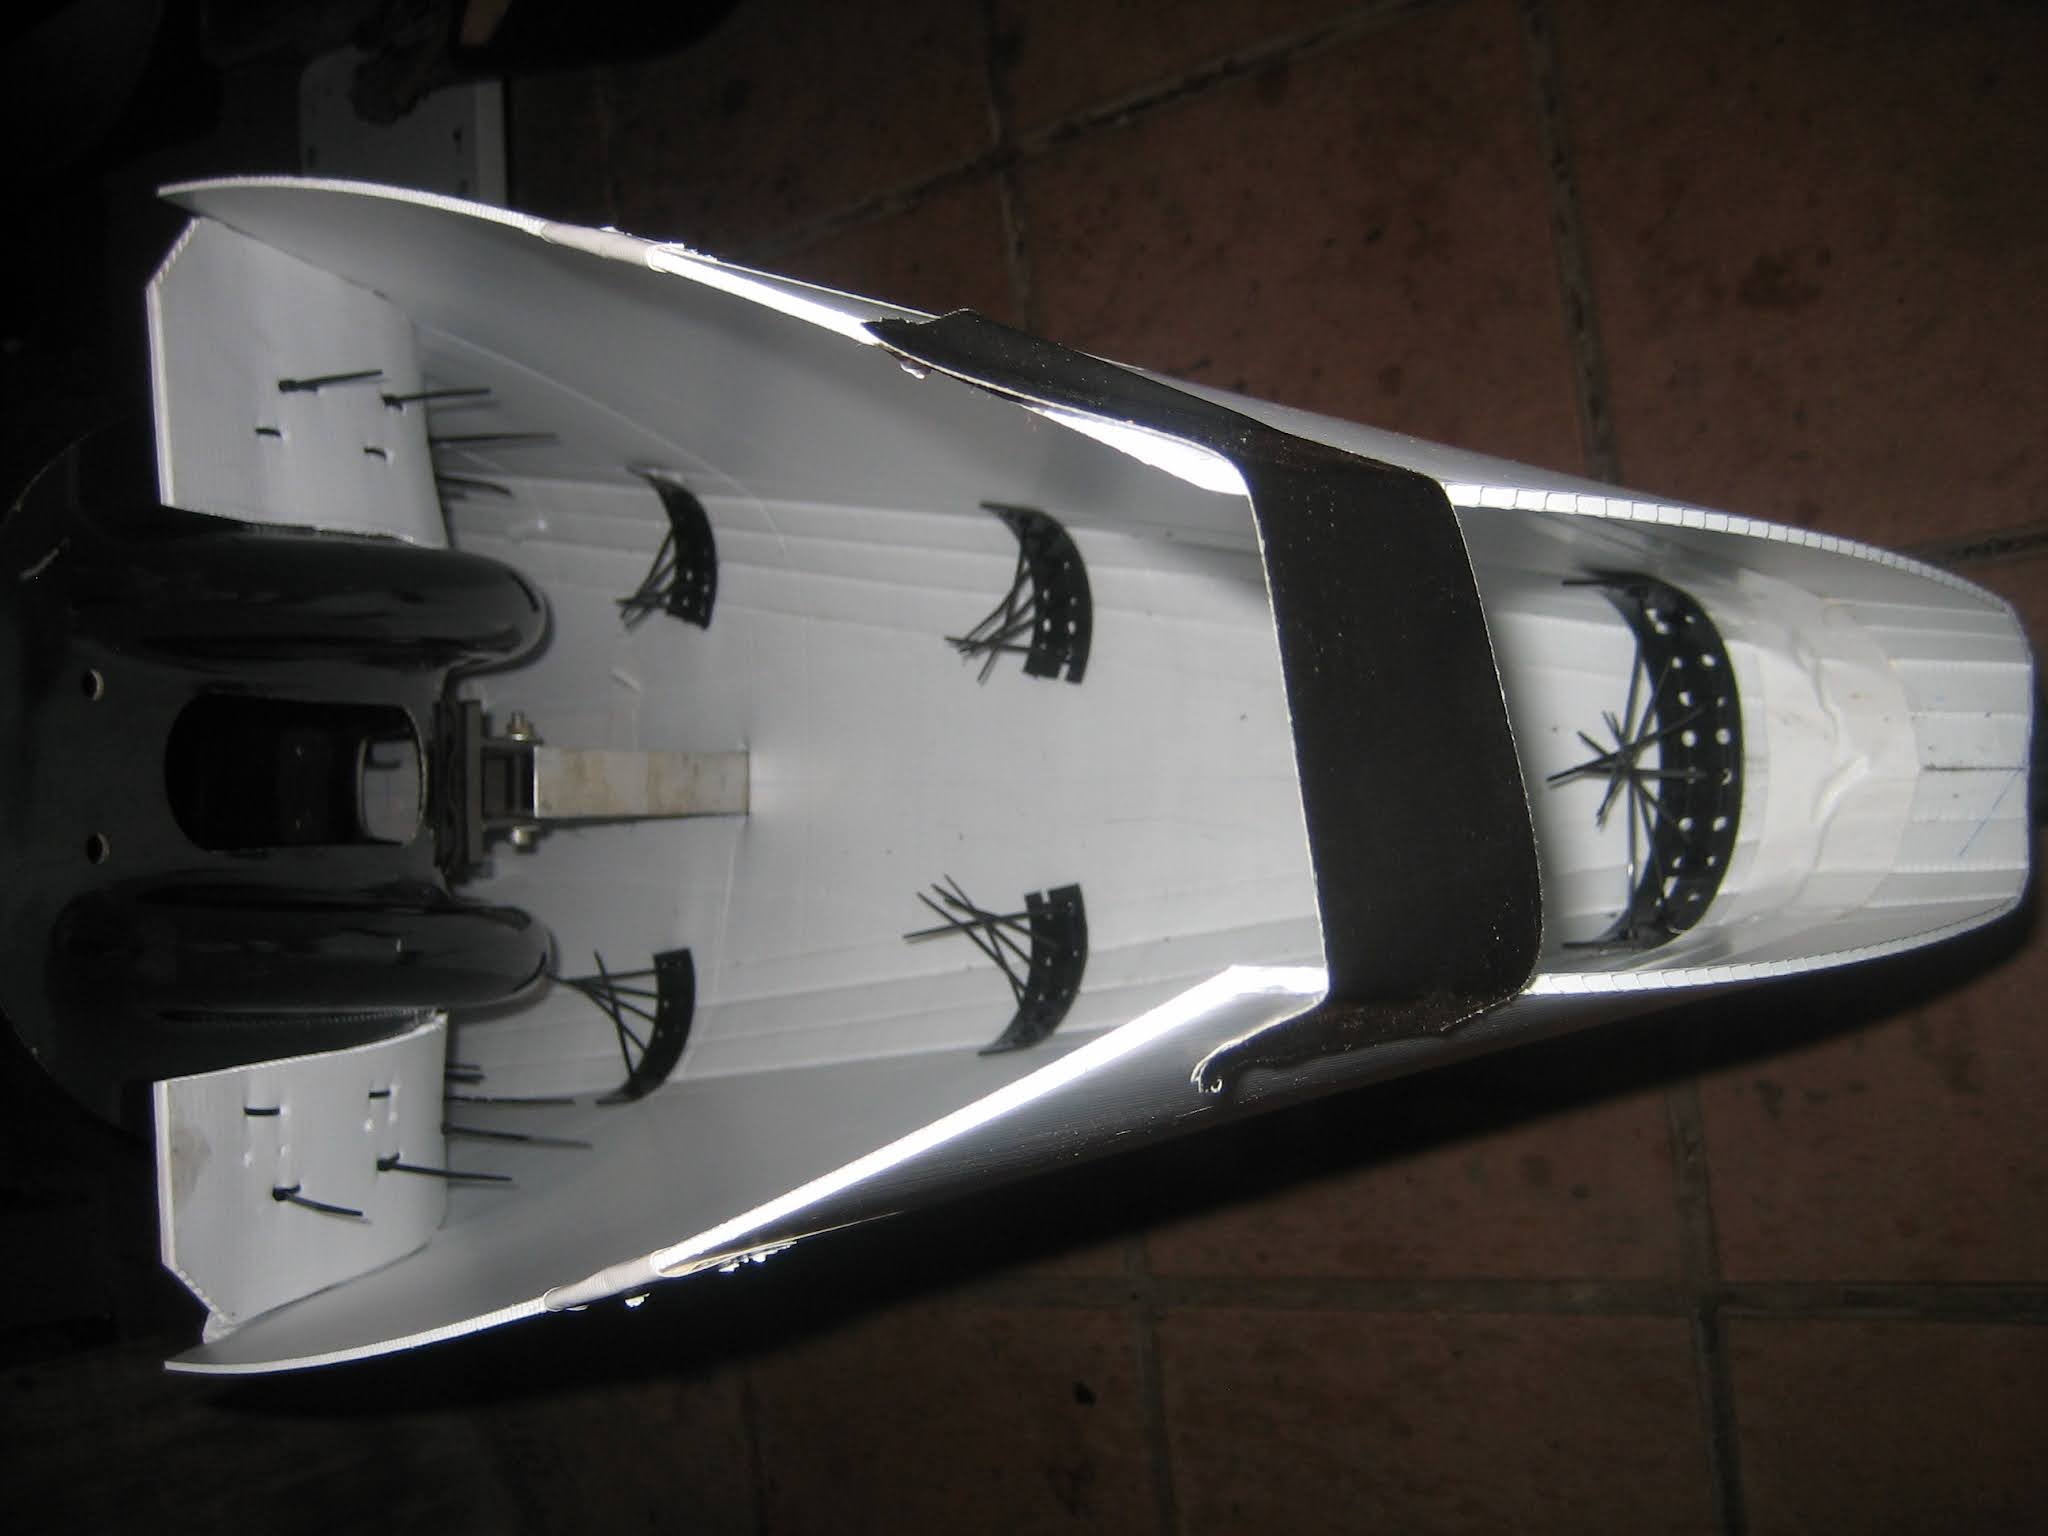
Inside. Need to trim a few cable ties still.

Done

and done.

 
Top lid design. Diagonal lines are 20mm apart and together make the 90 degree bends in the part.

Bottom part. Not quite how I made it, but how I would make it next time.


Hi

Today I completed most of my recumbent bike. This involved finishing off the tailbox by making and then attaching the back piece, as well as making a boot catch. I'd already had a go at this by tracing the required shape on corflute, the cutting out.

But this wasn't that great, so I started over again this morning and made another piece, mostly from the plans of the top and bottom pieces, but also from direct measurement of what had been built. This time it went better, and between using cable ties, sticky tape, and a soldering iron finished off the box quite well.

Went for a ride, and it works well. The brakes pull the bike up very sharp if you apply force.

As far as the name goes, its "Properly Satisfying" which matches what is written on it. This is from the tailbox lid material: corflute advertising material for a type of pie.  Considering the amount of effort put in, and that it goes quite well, the name fits. Well better than "Tasmania's National Pie since 1942" anyway.

It was entirely up to me to mount the top corflute sign-side-out, and I think it adds to the bike. Anyway I'm happy with it.

Next Post

Saturday, October 9, 2021

Fixing 50 bikes, 31 and 32, Giant Cypress

Miley and Billy Ray as traded

 Hi

 Today I was visiting my Mum and Dad, and on the way home stopped at a free book depot, and then continuing on the same long street spied the bikes shown above. At first I thought it too good to be true, but then on going back to check, it wasn't, there were 2 bikes there free to good home. They are Giant Cypresses, one step through and one diamond frame.

Anyway, after a minor struggle getting them into the car (couldn't close the back hatch, so I secured it with a mancky bit of string ) drove home carefully.

Not too much wrong with them, and I have already taken the chains off and they are soaking in vinegar to derust. One of the big problems seems to be the gearcables on the diamond frame. The coatings have disappeared and they're now just a mess of rusty wires.

After thinking a bit, I decided to call these bikes Miley (step through) and Billy Ray (Diamond frame). Of course I then thought of Miley Cyclist and Billy Ray Cyclist. Ok, Dad jokes over.

Update October10


 The Cypress bikes really couldn't be stored under cover at our place, and I was relieved to hear that Simon from Wecycle had room at his place for 2 I'd fixed. He's about a kilometre away, and I rode one bike (steer / brake / gears right hand) while pushing and steering the other (left hand) to his place and deposited them in his back yard. 

Then I walked home, and found the Mongoose bike above (or ex-bike) in a pile of rubbish outside a building site. I grabbed the bike, and 2 people asked me on the way home if my wheels had been stolen!

In the afternoon, I worked on the step through Cypress out the front of our place on a very pleasant afternoon, and got it going, swapping over rusty handlebars and a gear cable outer from the Mongoose.  The Mongooses rack didn't fit the Cypress, it was too small. Little bit of cleaning up still to do, not much. 

The test ride of the step through Cypress was amusing. It rides well and has a very upright ride position, and the spongy seat was full of water from being left outside. So I got wet shorts, and it looked like I'd p#$%ed myself, and I showed off this fashionable effect to my wife Christine who was reading on the verandah. "I just couldn't wait" "Couldn't hold it back" We are in the midst of a very long lockdown, you do need to laugh about something.

The step through Miley all fixed with reflectors and rear rack added. Should be a nice bike for someone. Rack is from Suzies bike which now has the Mongoose rack.
Here is Billy Ray, mostly fixed. All the gearcables were changed, and the left gearchanger / brake lever was swapped too, it only selected 2 of 3 gears.

Billy Ray, ready to go. Its a big bike, with a 54cm seat tube plus the extra height of a suspension seatpost. Drink bottle cage from Mongoose.

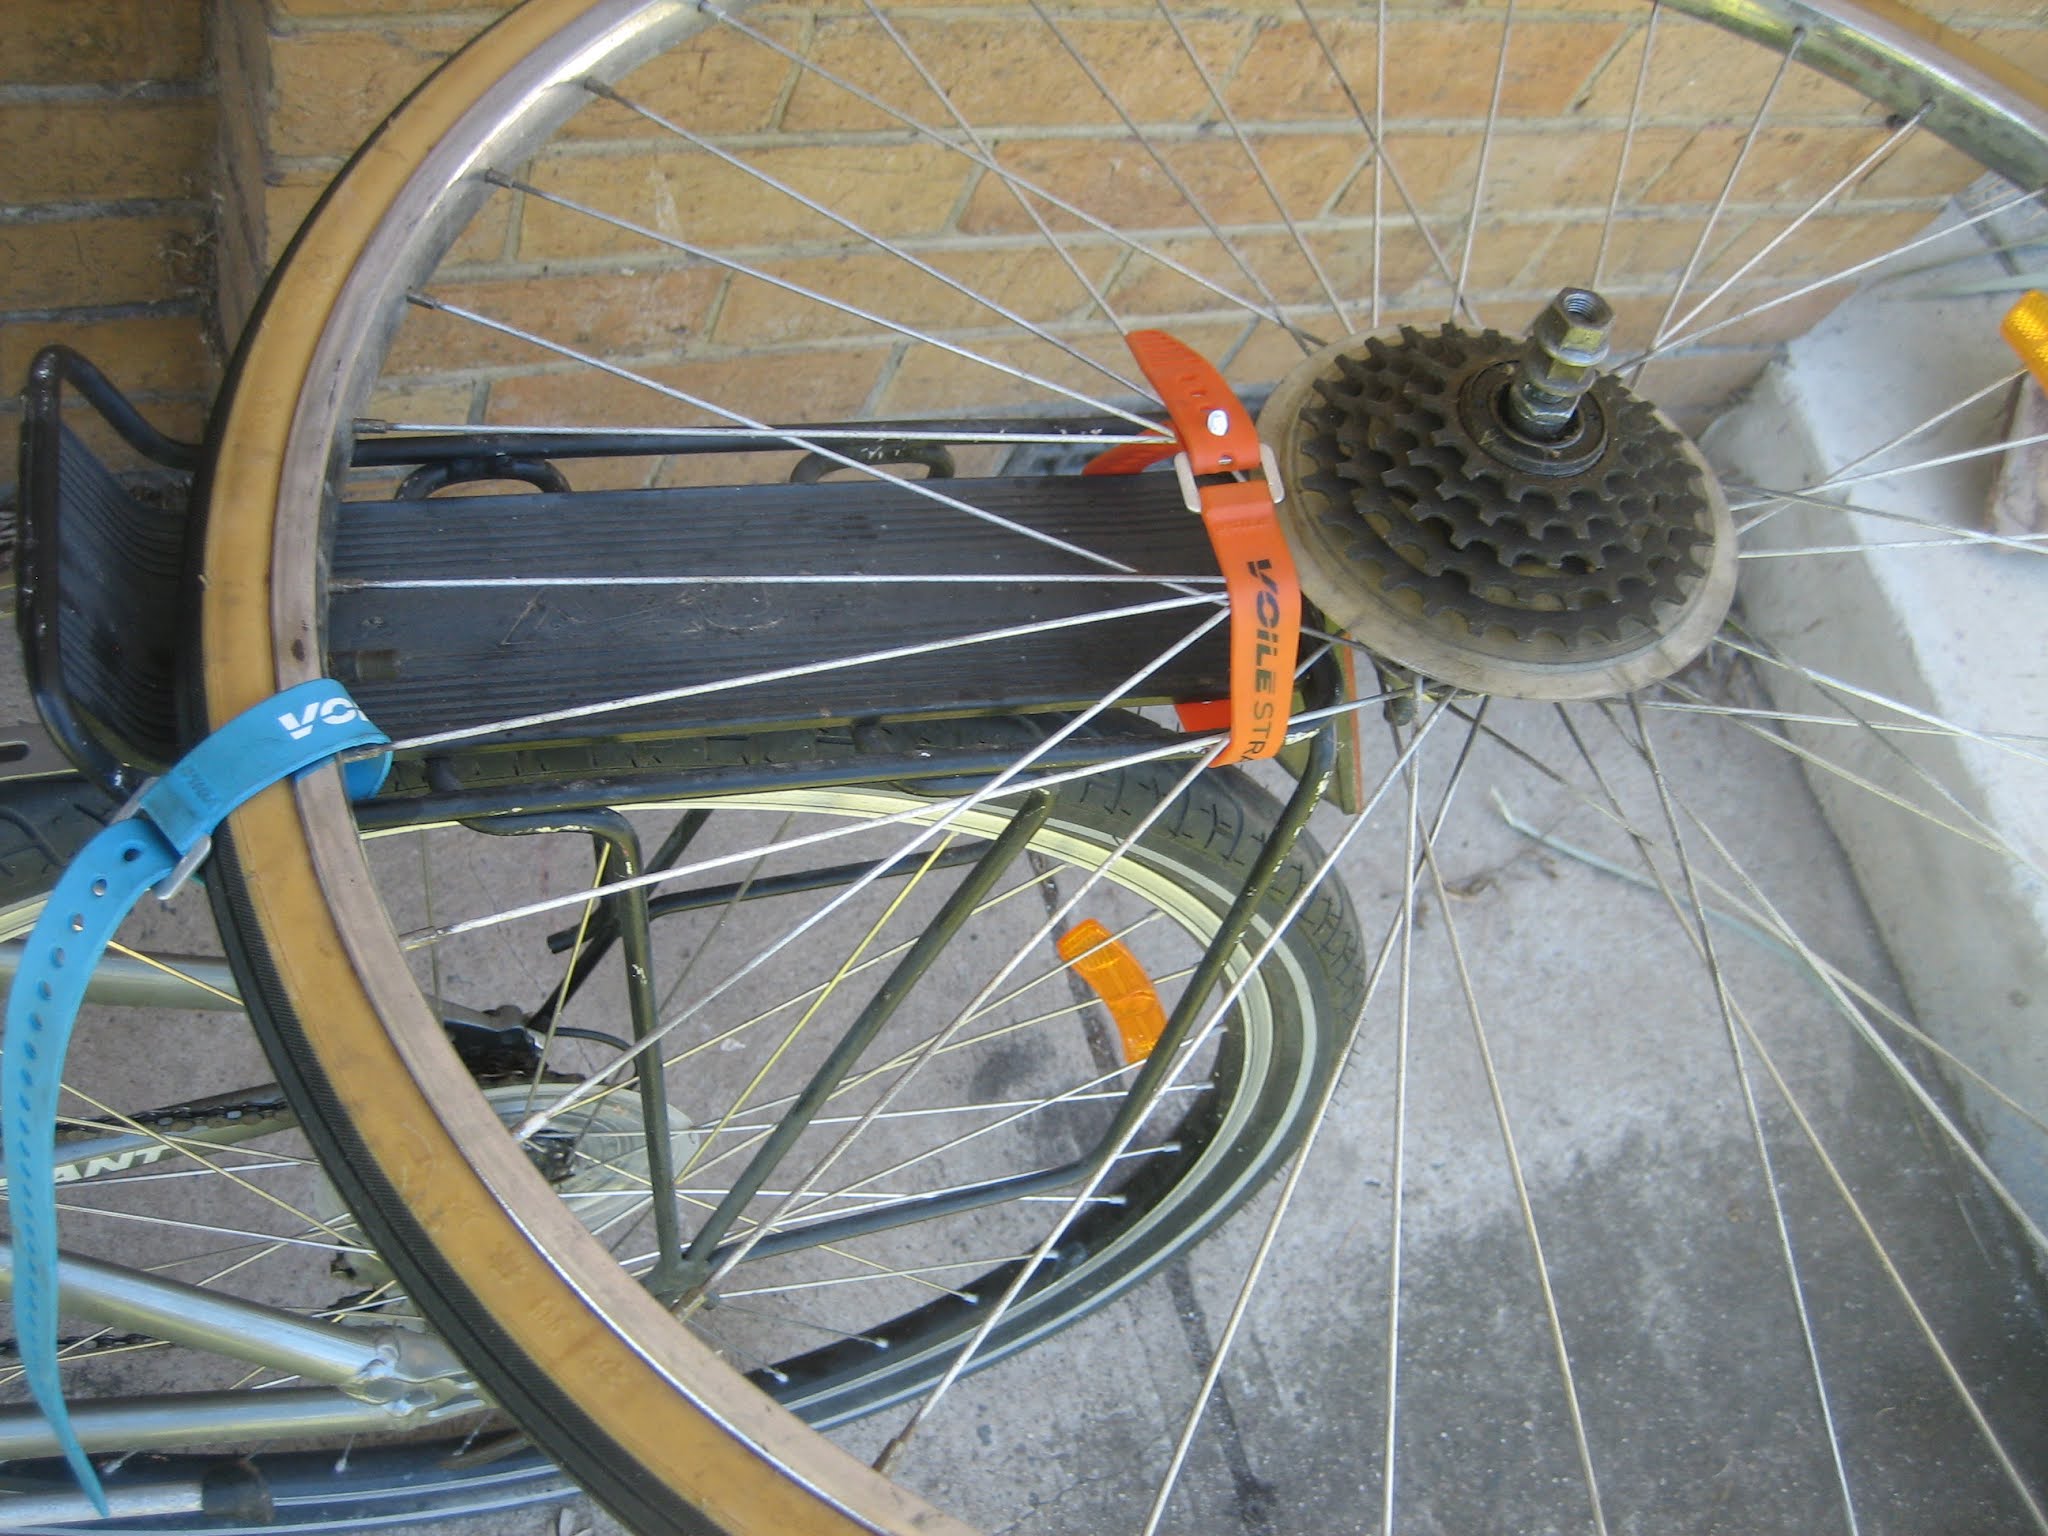
New rack on Mylie, carrying a 27" wheel,

as delivered to Wecycle. I made out a tag for her at this stage, so she can be selected and go to a new home.


New Bike Part 10: Tailbox


As completed last time

Stem detail
Cad = cardboard aided design for ....

trasferring the cutouts required for under the seat to the...

already scored coreflute.


Wrapped and cable tied onto seat and coreflute base.

Interior. This shows the plastic pieces I've used to shape the tailbox, they are pieces of 3d printer spools, cut up and drilled. I've used a different part of the same spools to make clocks .


Cad = Camera aided design. This photo was taken to estimate the height of my shoulders relative to the existing 'box. Red = proposed new tailbox location which I will make, green  = optional head fairing, I probably won't build this.

New interior
Top of tailfairing on.

Still need to fully attach the tailbox top but a lot of its done.


Hi, this shows progress with the bike to date. A bit more fiddling with the tailbox and I'm done, except for the lighting!

Regards  Steve Nurse

Next Post

Monday, October 4, 2021

Fixing 50 Bikes, Bike 30, Rebell MTB


Was out riding when I got this text, and George came round a few texts, a phone call, and a couple of hours later to drop off the bike.

A threatening sky as I did the first lot of work on the
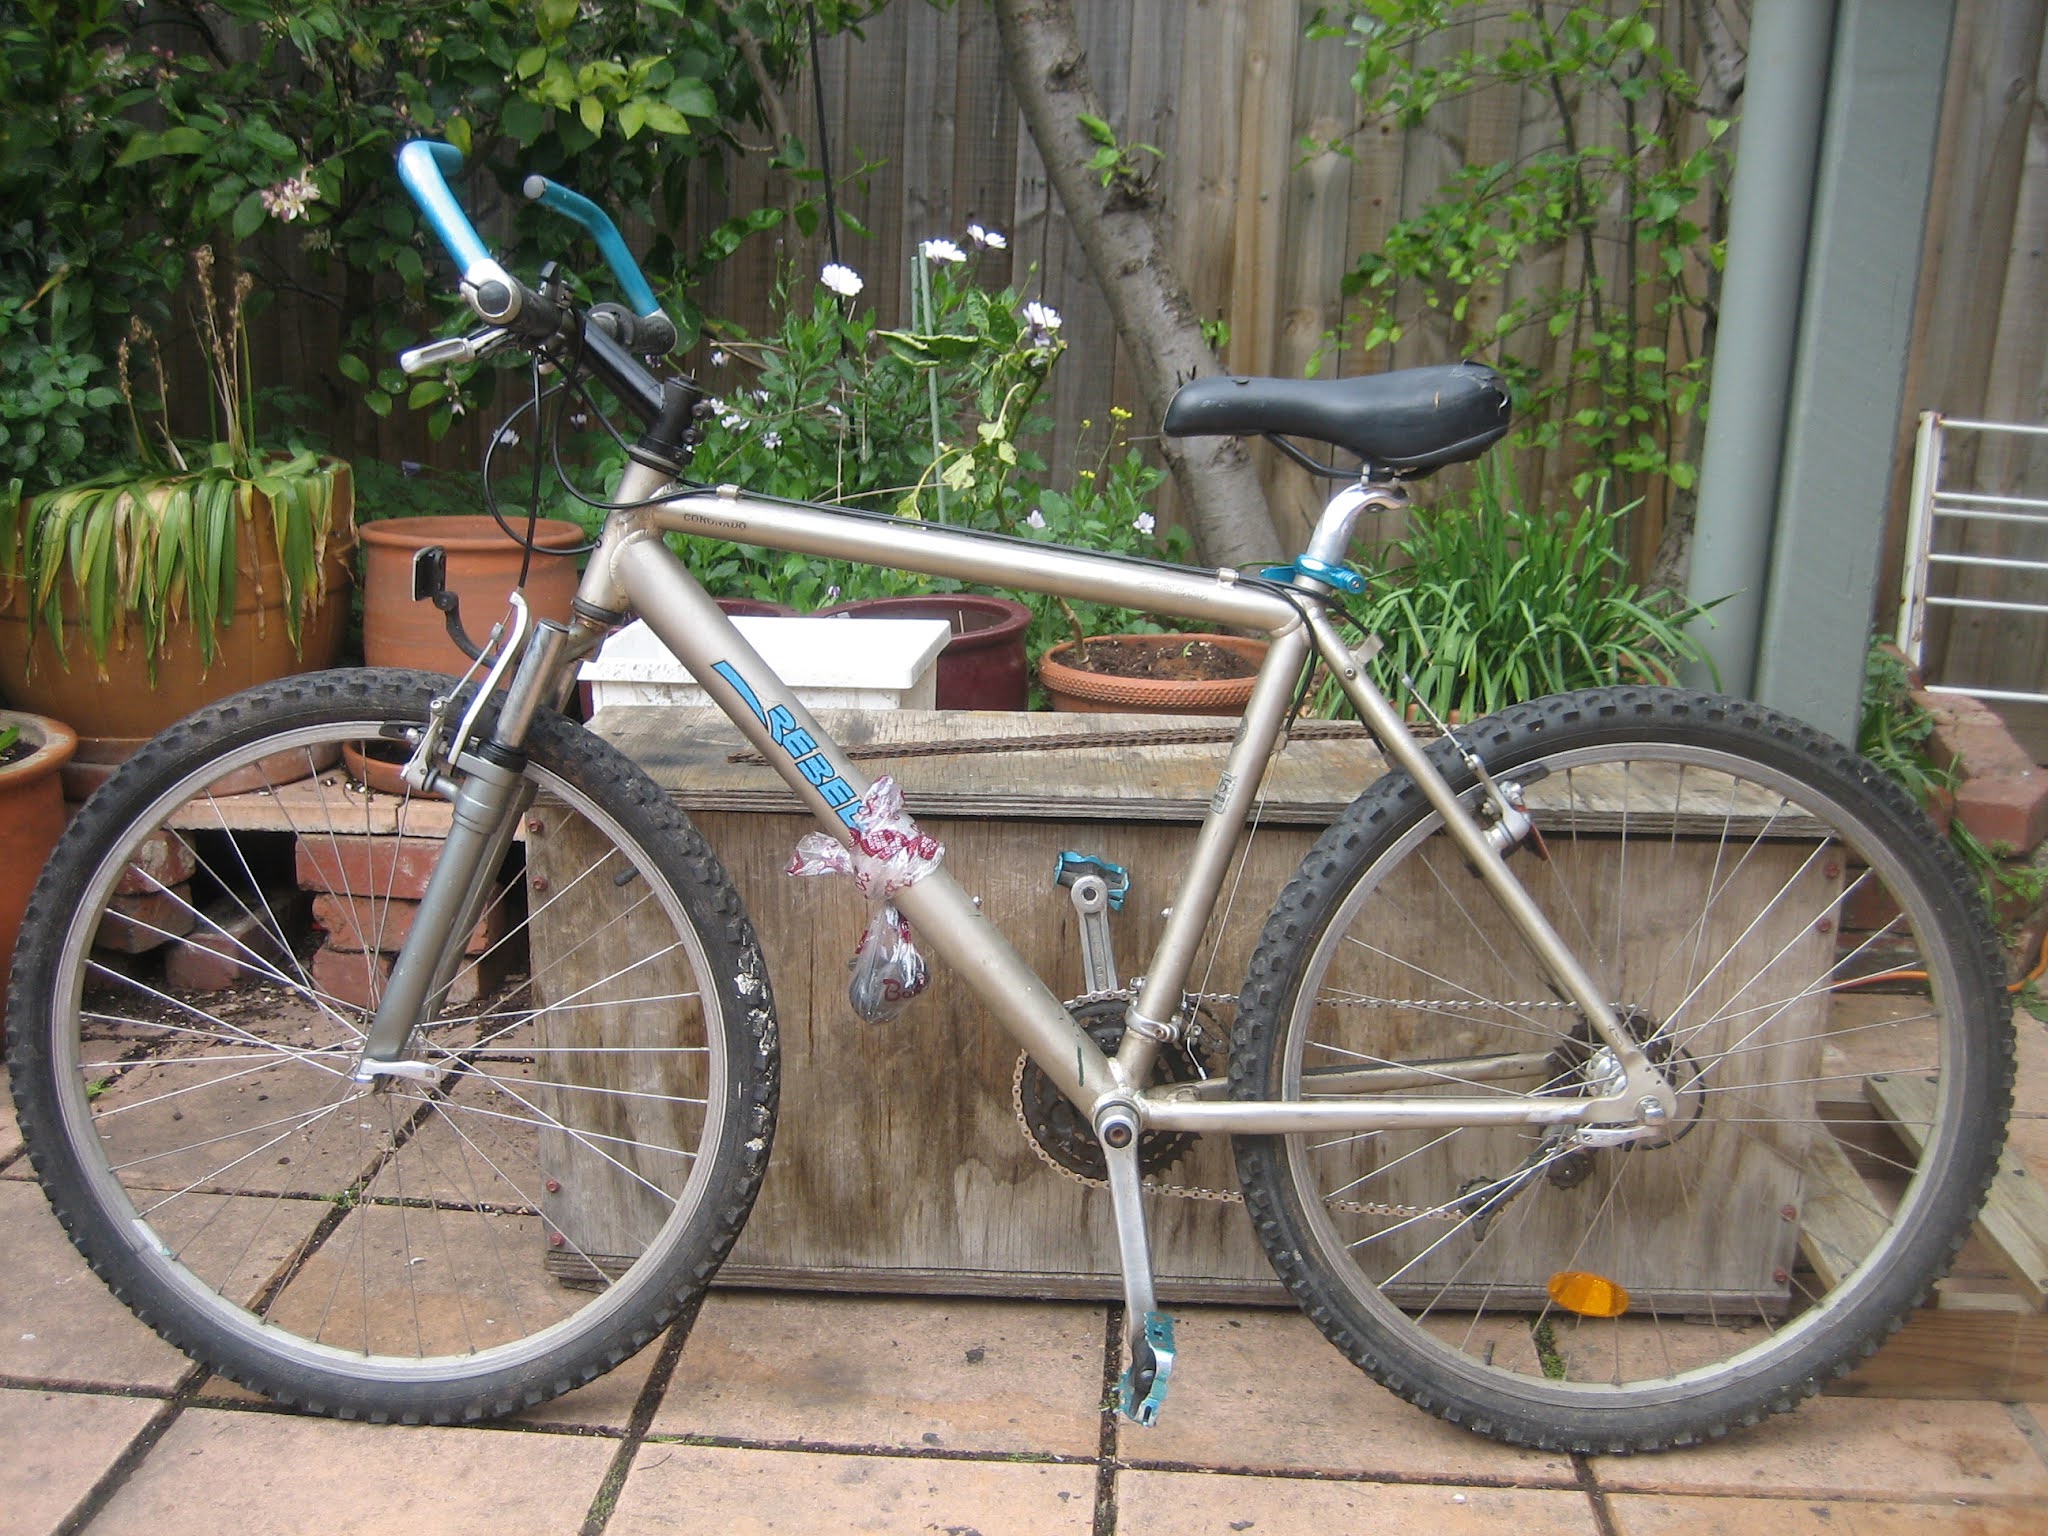
     .........bike which was mostly cleaning.

Stem was rusty, this was my down and dirty masking in prep for spraying to clean up the worst of it.


Hi

George texted me about this bike, an old style Rebell Mountain bike, which was probably very high end in its day. Yes. it would be fine for Wecycle!

So George came round, and I gave him a tour of my latest bikes and I was able to remove the rusty chain while he was there and do a bit of hooning on the chainless bike.

I had the black spray paint out for another job and so decided to fix up the stem of this bike with a quick (not actually removing it from the bike) spray. Anyway, hope to finish this bike tomorrow, I now have 3 more waiting to be fixed here, and one that is fixed awaiting delivery.

Serial Number


The top 3 photos are how I sent the bike out. Couldn't get the left gripshift working so replaced it with a friction shifter, which is very basic but very simple also.  Gripshift is in a bag tied to the downtube for someone else to have a go at if motivated.


Regards  


Steve Nurse

Saturday, October 2, 2021

New Bike Part 9: tailbox and new forks

1 Attaching tailbox frame to fibreglass seat. A soldering iron was used as well, for marking drill positions on the set.

2 That bit of the tailbox finished

 
3 Scored corflute for lower back half of tailbox

4 Bit blurry, but this is the setup for bending the forks to suit a front wheel.

5 New dropouts held square and roughly alligned with a rear wheel axle, ready for brazing

6 Jig for keeping back v-brake bosses in place. It helps chain clearance that they are close together.

7 Checking v-brake fit, all good

8 painting, working parts of the fork are masked off.

9. A zinc splodge. I had left a zinc screw bearing cap on the thread when I was brazing and it melted. Oops but no harm done.

10. Assembled

11. Not much chain clearance but enough!

12. The bike with the new fork

13. Steerer is now shorter so exerts less torque at the stem.


Hi

I've been working on my new bike, and at first I started in on the tailbox, firstly making a 5mm surround for the seat which I can mount the back of the tailbox on. Work included drilling the seat and attaching the corflute with tape and cable ties. Next I scored and bent a larger 3mm corflute sheet which will be the lower back part of the box.

At about that I realized I wasn't happy with the front fork arrangement, mainly the brake. The Performer fork only had one brake, for a disc, and I didn't like it that much. The existing 2-v-brakes-one-front-one-back has worked fine for a while and I didn't need to change it. Also I wanted a screw on headset, the Aheadsets have never properly worked for me on this style bike.

As well I realized that the stem could probably be swivelled through 180 degrees. If there was enough clearance to the crank, then this would save 100mm or so of steerer material. Lastly the 3 cables from the handlebars wouldn't have to go through a big angle with the new arrangement.

To solve all this I started by ringing my local bike shop to see if they had the fork I wanted which comes from a 451 Byk bike. They didn't have just the right thing but suggested something else. After a shop visit, I found their suggested alternative no good because of the dropout type, thanked them and went on my way.  In the end, shed fossicking revealed I not only had the 451 fork, but also something (20" folding bike fork with short 1 1/8" threaded stem.

A few mods were needed to the fork, these were

Widening the blades using pipes slipped over the tynes as levers.

Removing dropouts and replacing them with custom laser-cut ones

Adding bosses for an extra set of v-brakes behind the fork

Lengthening the distance to the thread from the lower bearing mount

Lengthening the thread length. I'm mixing things up by having a threaded bearing and clamp on stem.

Whew, quite a bit of work!

After checking, I painted it the only colour I have, black. After an afternoon outside, and night inside, it was dry, and this morning it was ready for fitting. That's what I did today, I'm very happy with the resulrs as shown above. 

I managed a test ride late today and tomorrow can shorten part of the steerer (scooter fork at the bottom) to save weight and do some more paining.

Regards

Steve Nurse

Next Post