 |
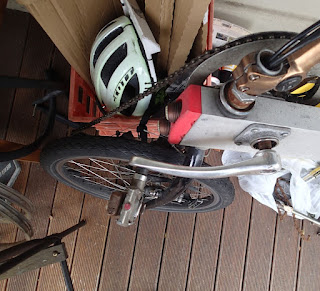
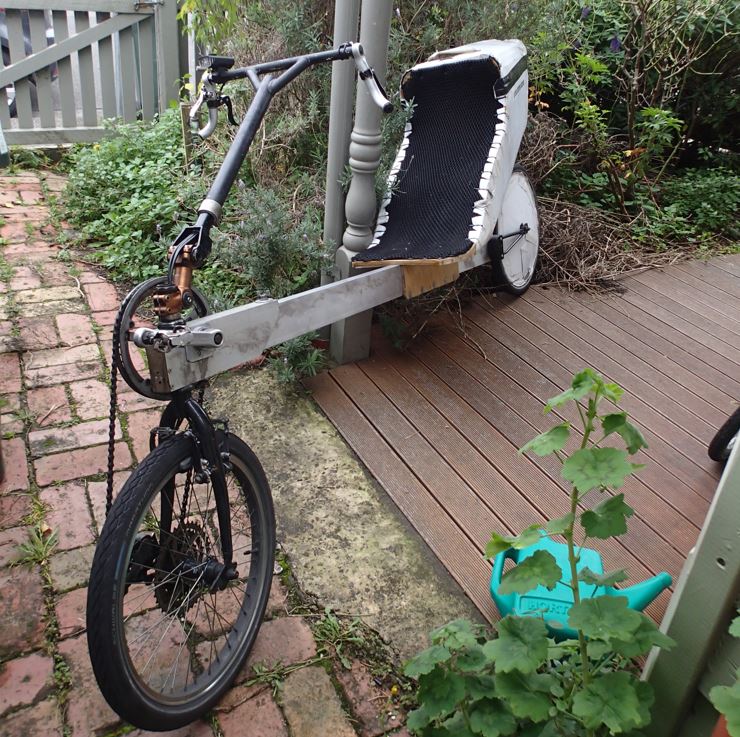
Ouch! Uri Geller I told you not to think about my trike! (Actually the result of an accident 2 1/2 weeks ago.
|
 |
Damaged trike
|
 |
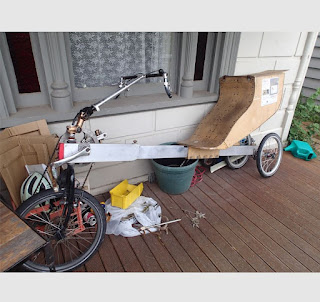
Bike with racing tailbox before....
|
 |
tailbox swap
|
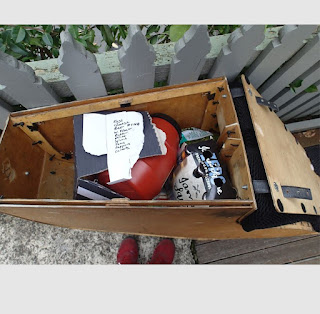 |
allowed me to collect a considerable amount of groceries. Everything on the list plus a big tub of olives.
|
Hi
A few weeks ago, I was involved in accident on my leaning trike, and that left me with cuts and grazes all down my left side, a damaged trike, and inability to ride for a few weeks. Now (thankfully) I'm just about recovered.
So my trike with the load carrying tailbox won't go for now, so I have installed a load carrying tailbox on my bike, and will do a few more mods and swaps and upgrades over the next few days. For now it has been great to get out on the bike and do a decent amount of shopping, not in pain, and not sweating over luggage space. will report more later.
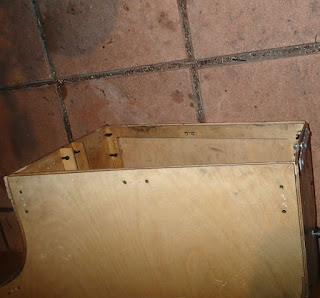
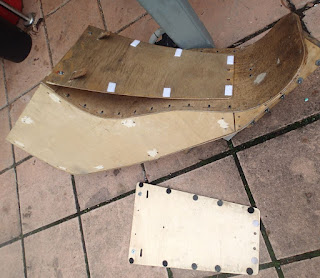
Tailbox Upgrade May 7. Today I started upgrading one of my all-timber tailboxes. This is the one that was on the leaning trike shown 2nd picture down. Here is the list of mods I will do.
1. Block off hole in base of tailbox. Things tend to get lost in the hole (keys, bike parts).
2. Keep side-panels on with screws. As described in this post, when I first designed the timber tailbox I wanted to have the timber side panels to be swappable for lighter corflute versions. But now I have specialist aero and load carrying tailboxes, and the timber box can just be made as strong and as good for load carrying as possible.
3. Put a bit of padding under the box lid so it doesn't rattle.
4. Seat padding. The 'box is ok without it but it makes things more comfortable and secure.
5. Leather belts as tailbox lids. This allows the lid to be raised a bit to hold more stuff.
6. Hole in tailbox lid for carrying milk crates. That's all I can think of for now!
 |
1. This is blocking off the.....
|
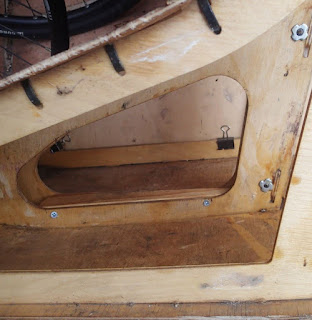 |
bottom of the tailbox with a piece of timber so luggage doesn't get lost down there.
|
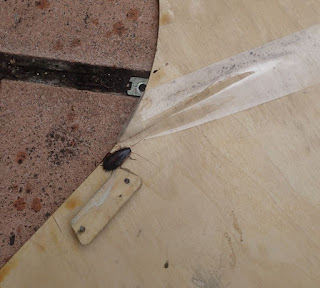 |
2. Found a few cockroaches who were passengers when
|
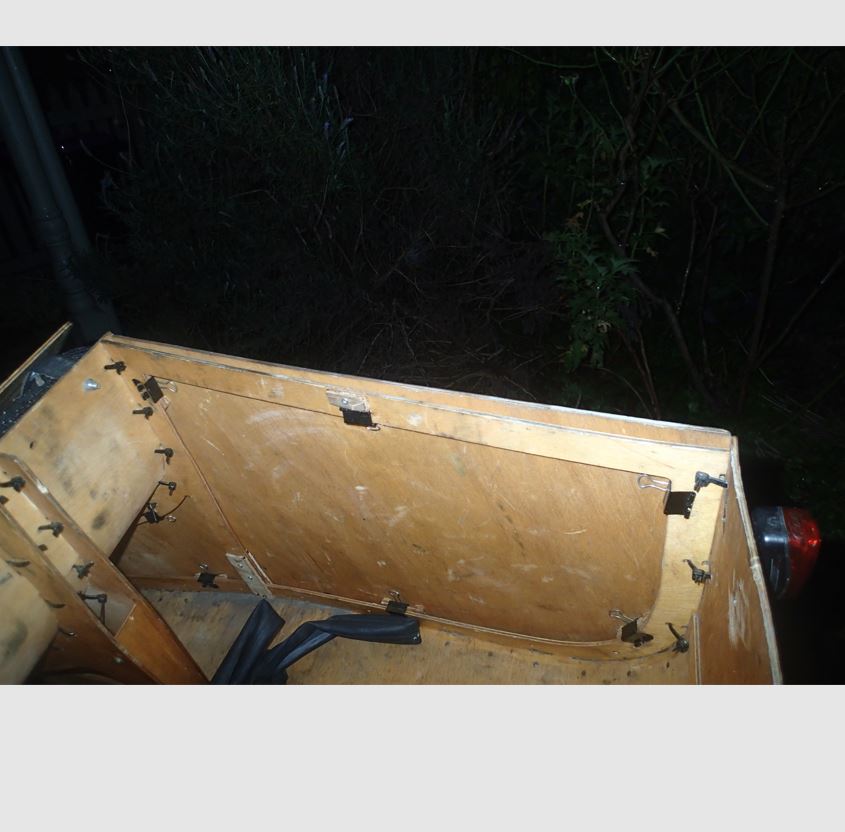
 |
converting the sidepanel fastening from foldback clips to screws.
|
 |
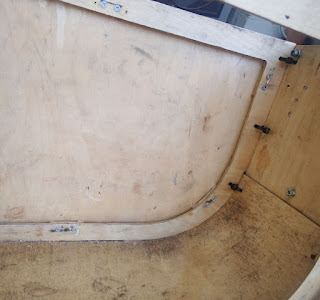
This should be stronger and more secure than...
|
 |
the old version of fasteners shown here.
|
Update May 8: Here is today's progress.
 |
Attached the lid with extendable straps. This helps when carrying loads like a few bike wheels. Also stick on velcro stops the lid from rattling. The lid at the bottom is a template I copied.
|
 |
| Box closed up. There are a few unvarnished patches on the outside, and that's where I sanded back the new screws which poke out a bit from the inside. |
|
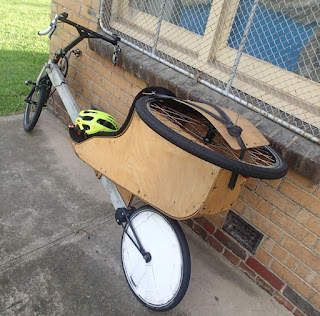 |
The sort of job the tailbox does. This is an early version of the tailbox I'm working on now. The lid is loosed a belt-notch to better accommodate the wheel.
|


No comments:
Post a Comment