 |
| Unmodified Cruzbike Quest in the |
 |
| forest near Aireys Inlet |
For more than a year now I have been experimenting with riding and upgrading front wheel drive, moving bottom bracket Cruzbike Quests. Although I once made a Cruzbike Kit moving bottom bracket bike, this current bout of enthusiasm for mbb's has been my longest. Working with Cruzbikes has made me more confident with disc brakes, and moving bottom bracket front wheel drive, and unafraid of using these in bikes I make. I'm already quite comfortable with tailboxes, and both my Cruzbikes have been upgraded with tailboxes I've built, plus dynamo front lighting. As well I've made a custom chainstay to alter bottom bracket height. For me, tailboxes are a no-brainer on recumbent bikes, and their load carrying capacity transform the bikes from exercise machines to practical transport.
 |
| Quest with wooden tailbox with decoration from old t-shirt |
 |
| 2nd tailbox built is lighter and intended to be more aerodynamic |
 |
| High bottom bracket chainstay is the latest mod to the "fast" tailbox Quest. |
Its worth stopping here and maybe see what is for and against my current Cruzbikes and current leaning trikes - I'm trying to make a best of both worlds bike, somewhere in between my leaning trikes and the Cruzbike.
 |
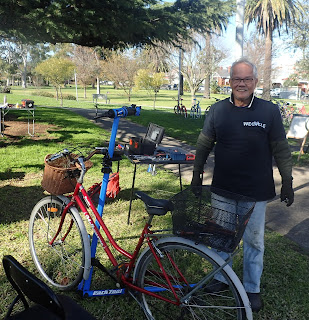
| Daily driver, this was what I still ride regularly for load carrying, but it has..... |
 |
| existed in other forms including this 2 wheeled bike version. This was its hour of glory and I rode it to win an OzHpv challenge seniors division title. Glory days were not to last as the rear wheel frame later broke! |
Probably the reason I'm riding Cruzbikes is their engaging ride. Because arm force is used to resist leg force when riding, they take a certain amount of subconscious mental effort to ride, which induces an enjoyable flow state: the Wikepedia entry describes it, "One is most likely to experience flow at moderate levels of psychological arousal, as one is unlikely to be overwhelmed, but not understimulated to the point of boredom". Before regularly riding Cruzbikes, I got the same feeling from riding a bike while wheeling another at the same time, a regular occurrence when ferrying bikes for Wecycle.
So the biggest problem I had with the Quests I have fixed, and that is load carrying. But the problems remaining are
* Right shoulder soreness. Its only since riding Cruzbikes regularly that I've had this, and I can feel my shoulder twinge when playing pool, putting in effort when paddling (surfing) and even reaching for the alarm clock. I'm not sure its related to the Cruzbike, but I can't think of anything else that could be causing it.
* Hard to get on and off. On my long wheelbase bikes I can swing my legs over onto the pedals as I'm running along launching the bike. Although a vastly different bike, the Rans X-Stream has this quality too. On the Cruzbike the steerer stem is just too close in for legs to swing over.
* Its necessary for the handlebars to be quite wide on these bikes, and therefore slightly less aerodynamic due to a wide hand position. Having a wide handlebar helps make leverage for the arms and reduces arm strain.
But the good points are its manouvreability, that it can be folded up for carrying in a suitcase, and that there is a good amount of weight on the front wheel which helps traction.
On the other hand, in my long wheelbase bikes there is little or no (engaging / shoulder wrecking!) force from steering in the arms, the front drive wheel is lightly loaded and can slip, and although the bike does separate, it stays in fairly big and wouldn't fit in a suitcase. And manoeverability is crap, you can't pedal and do much steering at the same time. But the handlebars are quite narrow which keeps things tight and aero.
So to cut to the chase, in my spare time a few months ago, I started building a new front for my leaning trike. Work has been a bit haphazard up till recently, but now I have a bit more time and something to show! I have actually built something like this before, it was a short lived machine
 |
| First version of forks without brakes. There is a spacer / open washer brazed in on the drive (lower in the pic) side dropout, and this is to ensure the chain doesn't rub on the fork. |
At this stage I put things together but didn't actually ride this version.
After making the parts and the layout machine, I did some 2d cad drawings to estimate where things might go. I realised that the handlebars had to be elevated to allow me to swing my legs through, and having some dimensions to guide assembly would help.
After that, I started work on a rideable, relatively solid version. I still used the flaky bottom bracket though!


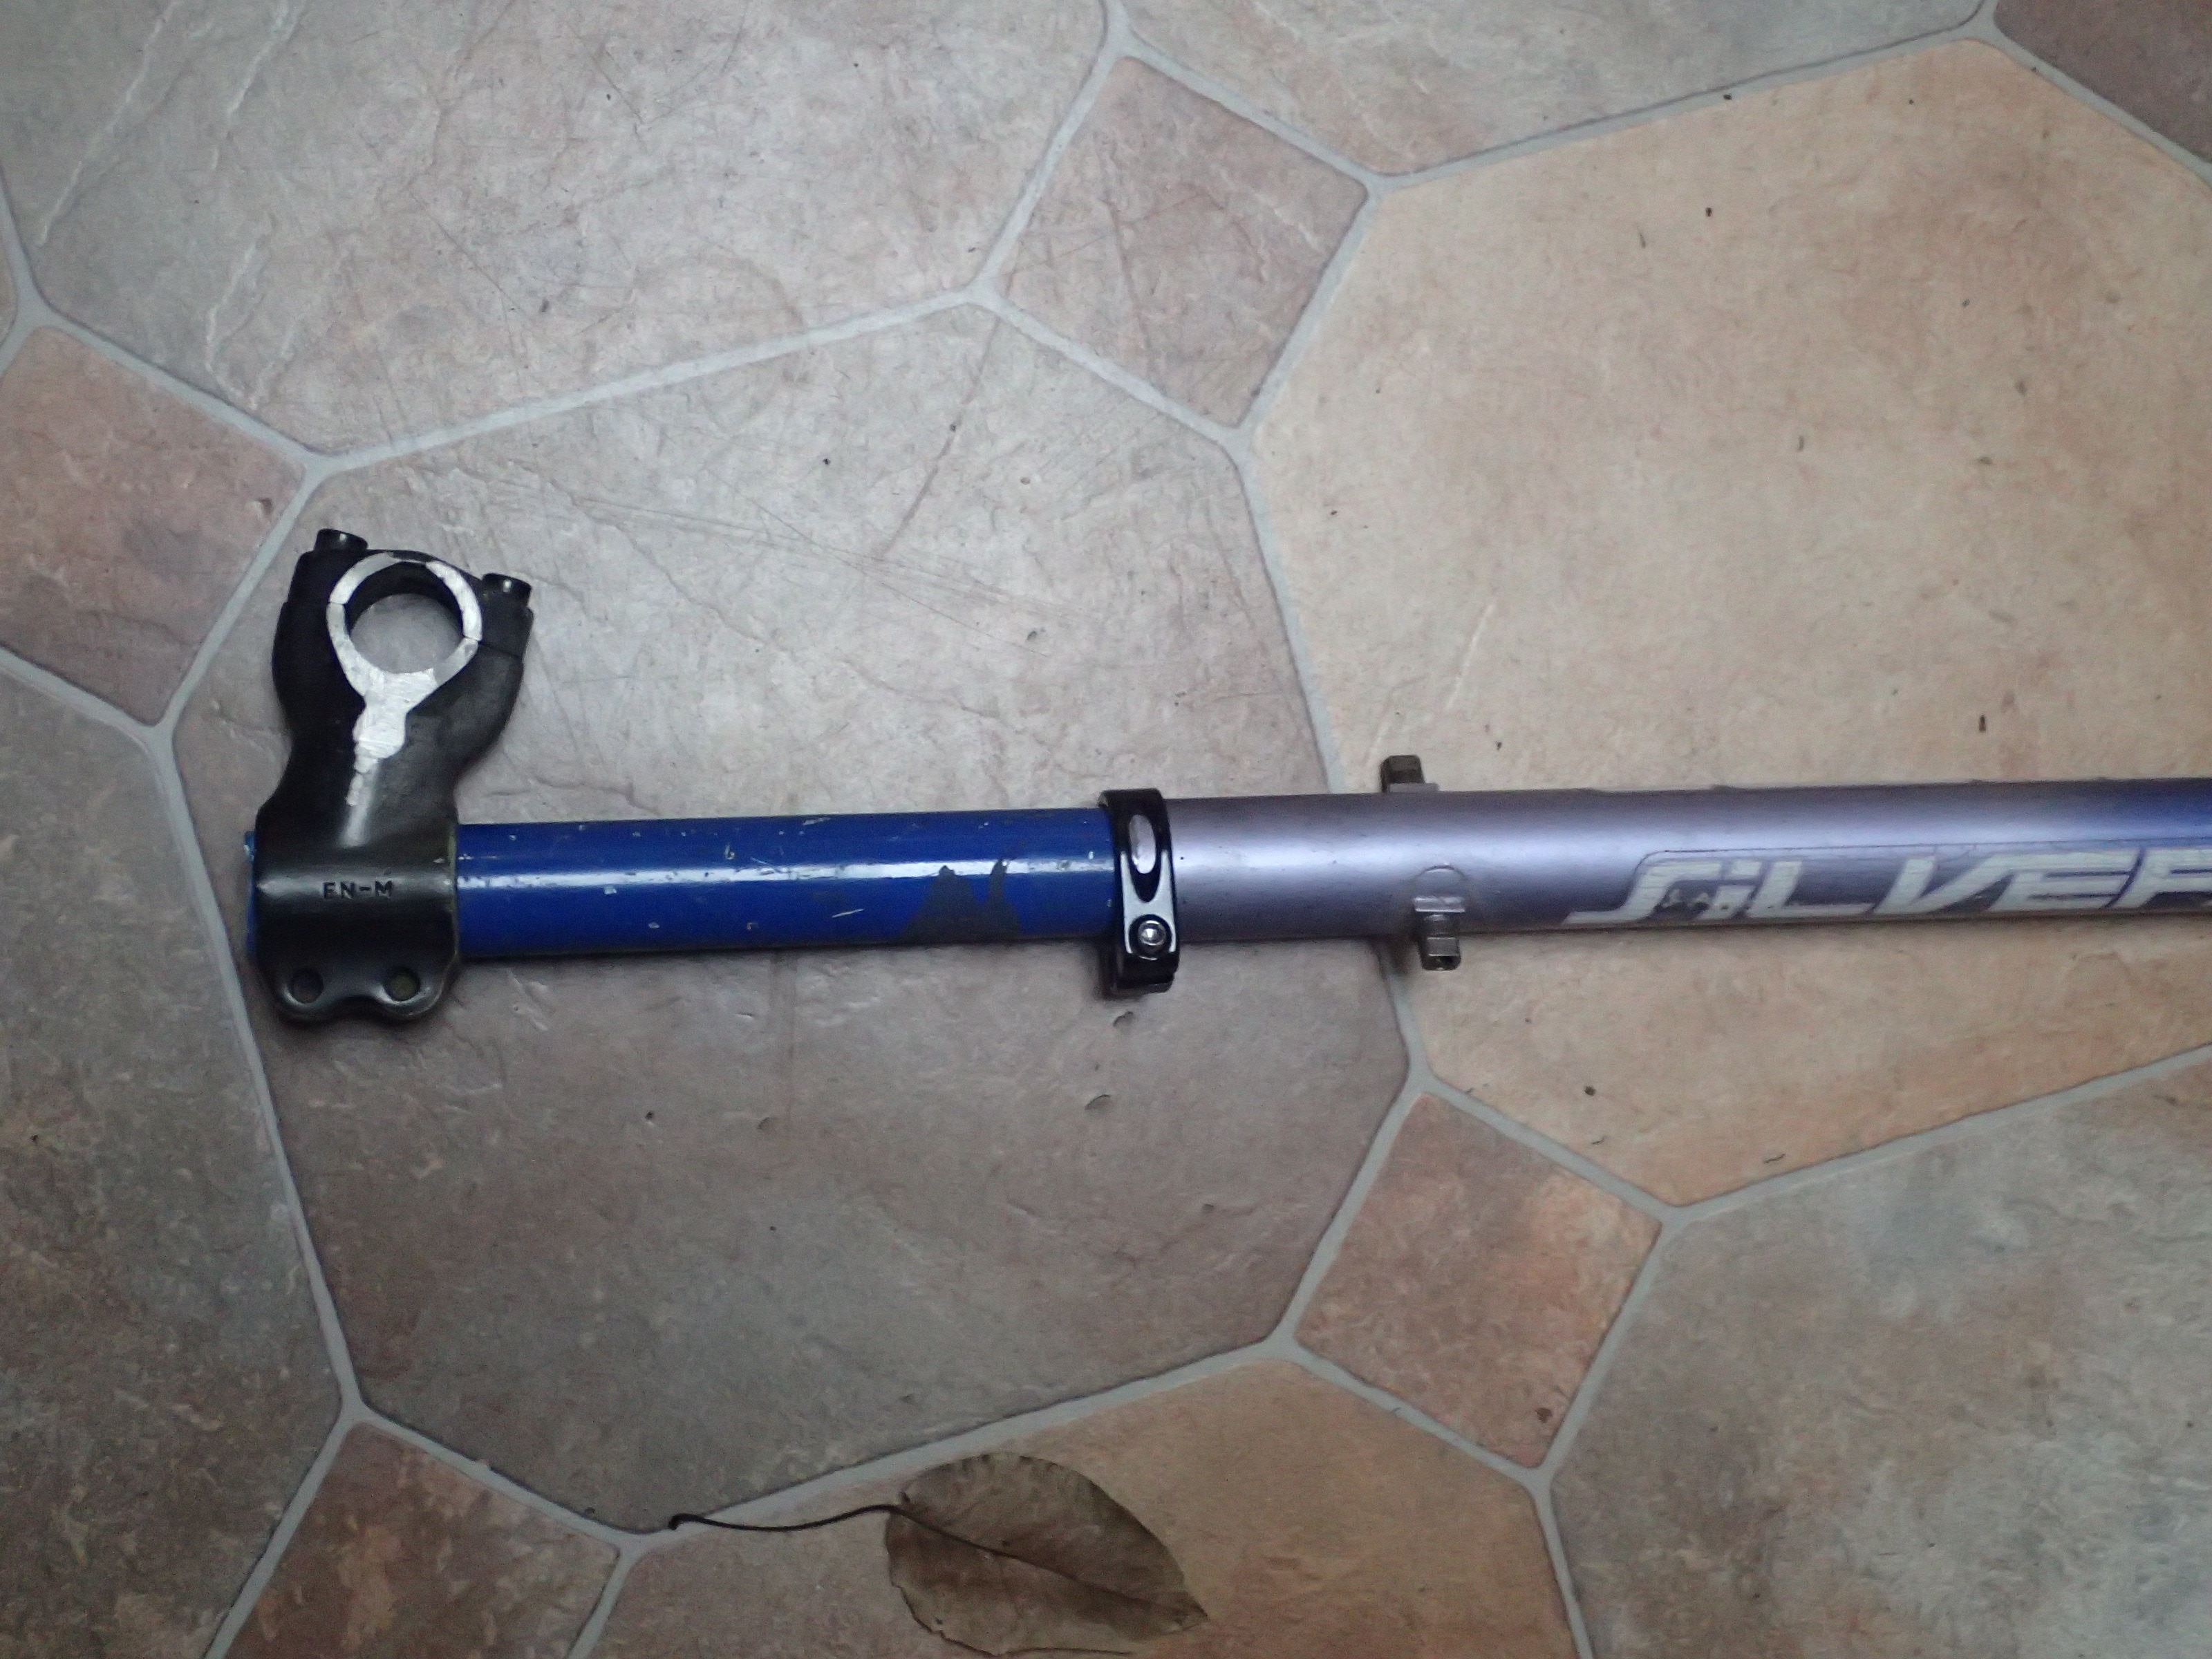
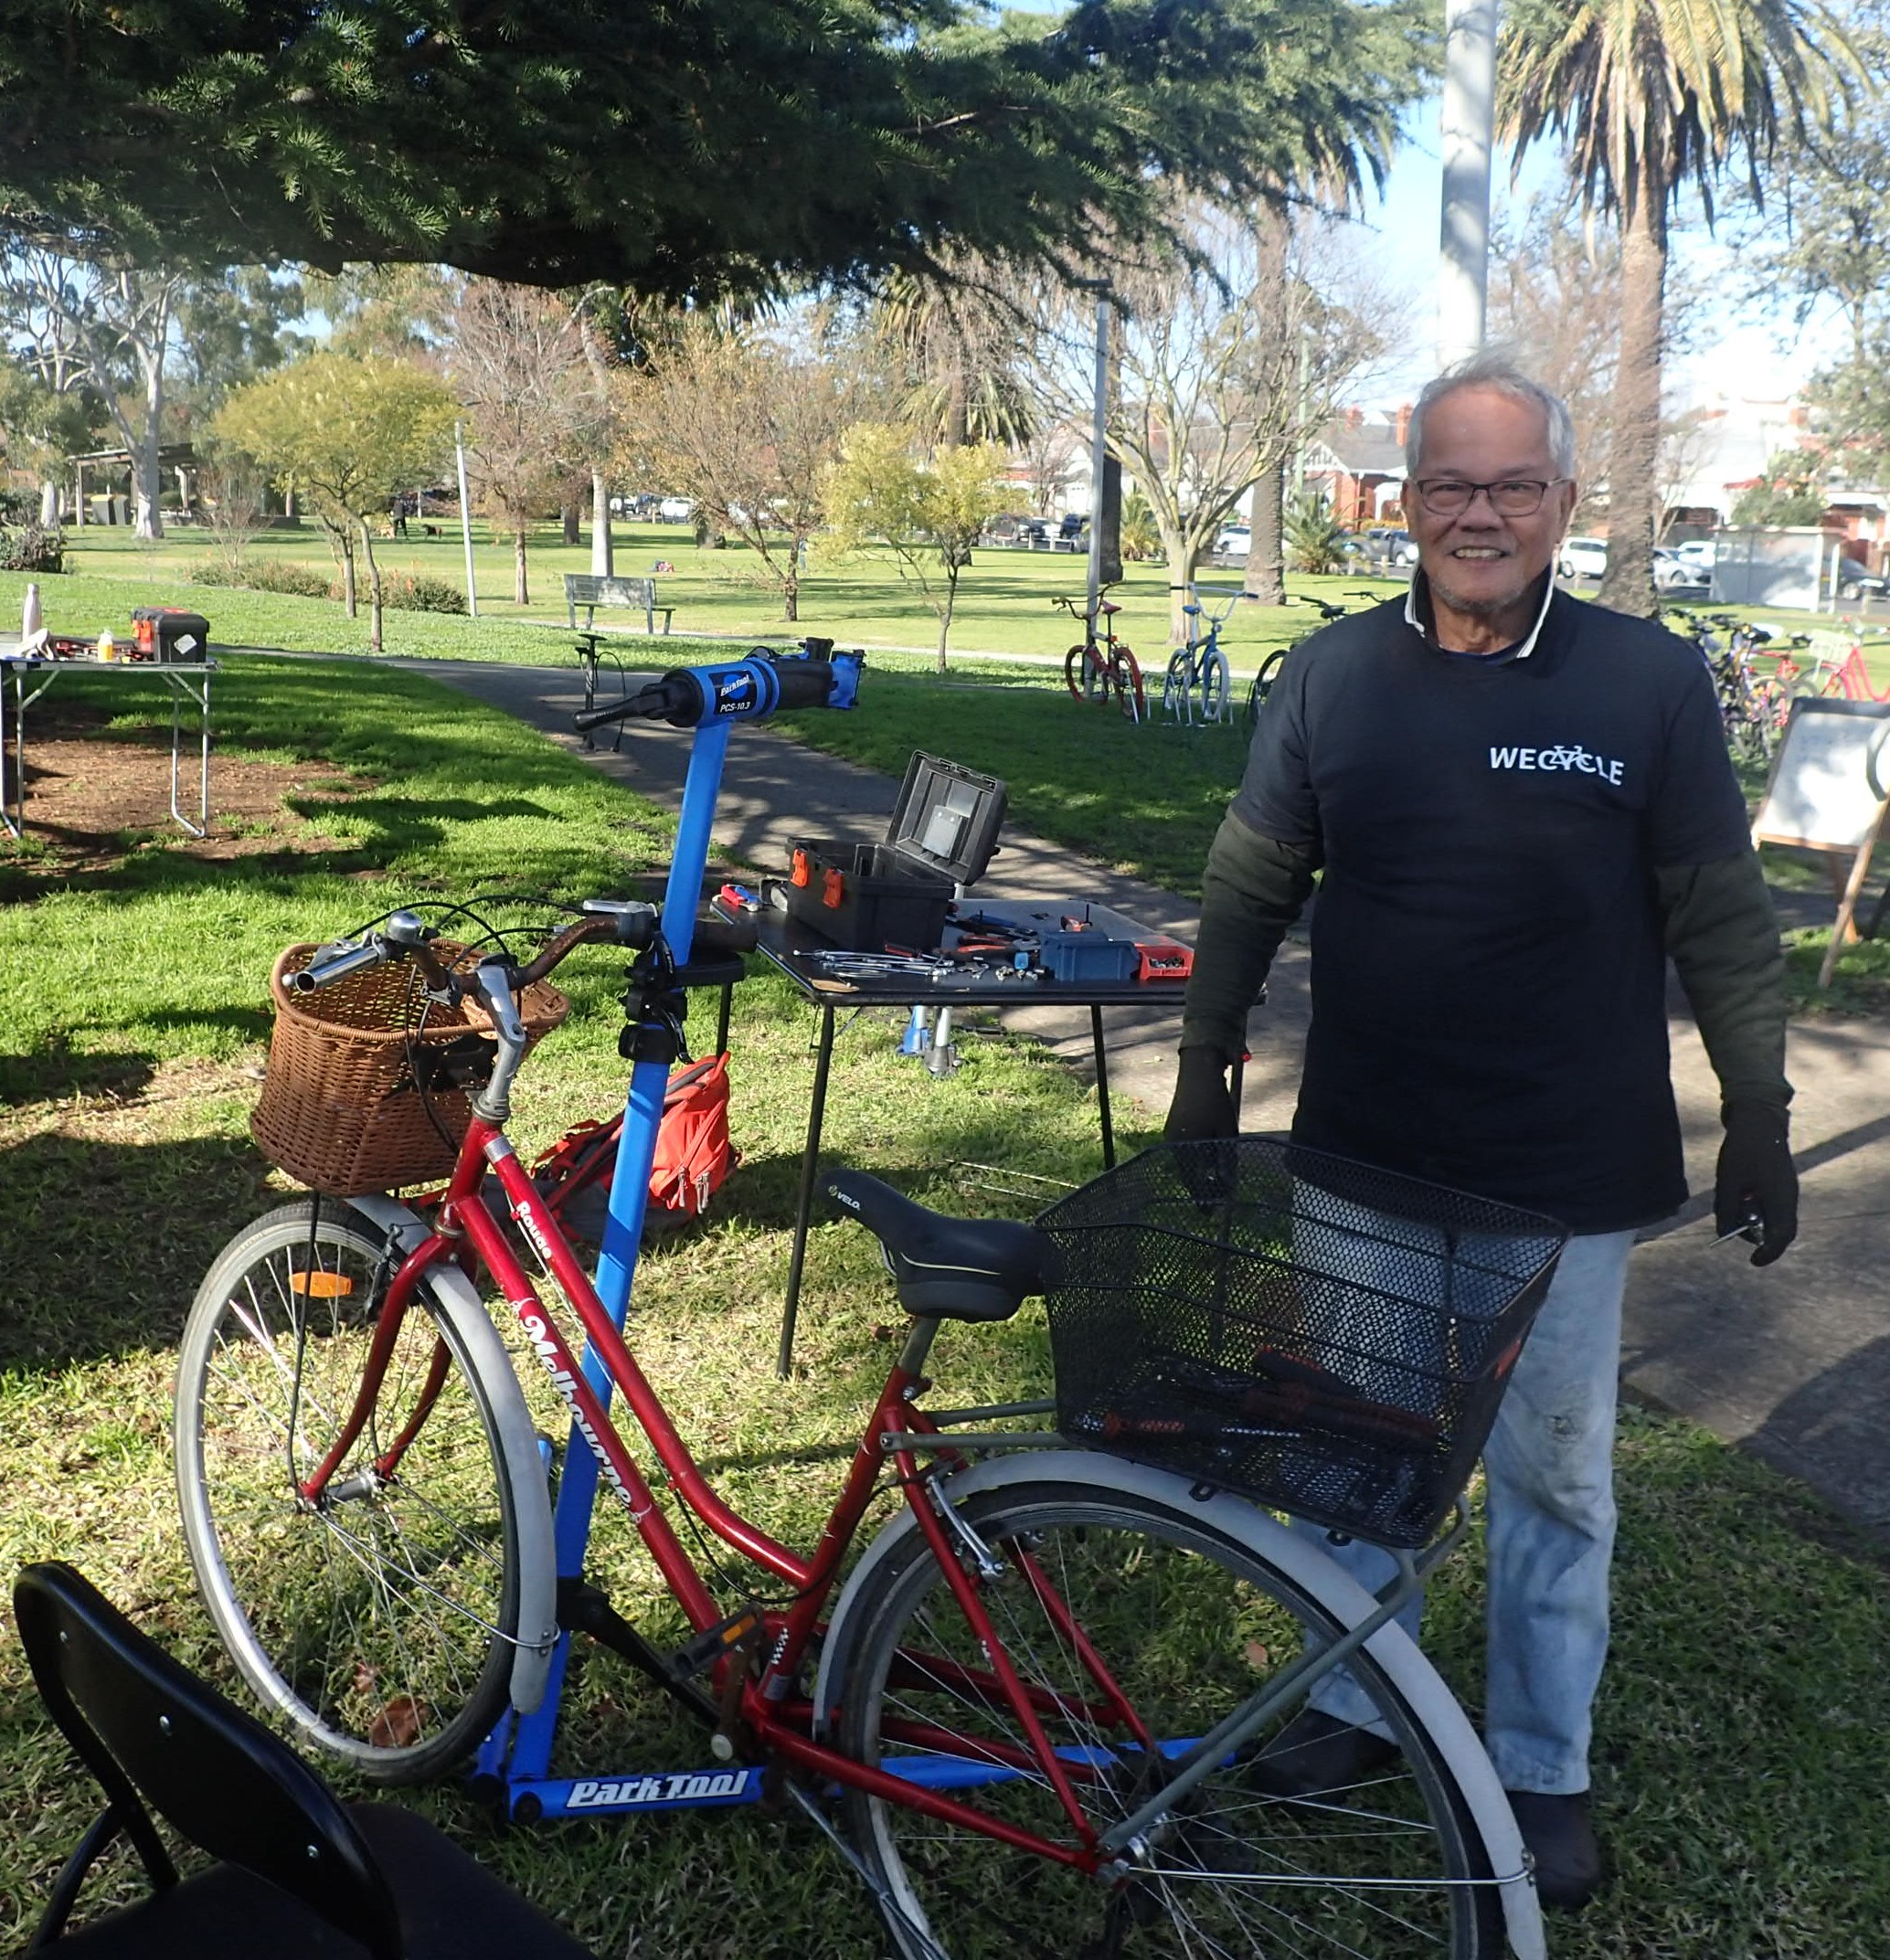
So this version took me around the block once! By the time I'd put it together, I had added a brake to the back of the fork - the intention is to have one V and one disc brake on the front wheel for the final version. This one was sort of cobbled together and after riding it, I drew up what the final version might look like. Some inspiration came from my son's Surly longtail - for the child's handlebars on the back they just use a 28.6 mm seat tube which is the same diameter as most threadless fork tubes - so standard steerer components (ie stems) just fit automatically. I found a few parts in the shed and on bikes which were compatible. The next bigger standard tube OD is 31.8mm, and I had a few tubes that size as well. Today 2 bikes were donated to Wecycle, an orange and a red one. The orange bike was donor of a few parts to the red one, which my friend Myy fixed up. And I took the orange one home with the intention of using the seat - tube and bottom bracket or down - tube and bottom bracket parts in the new build. I've also ordered a new fork with built in disc brake mounts - see how we go with that.


 |
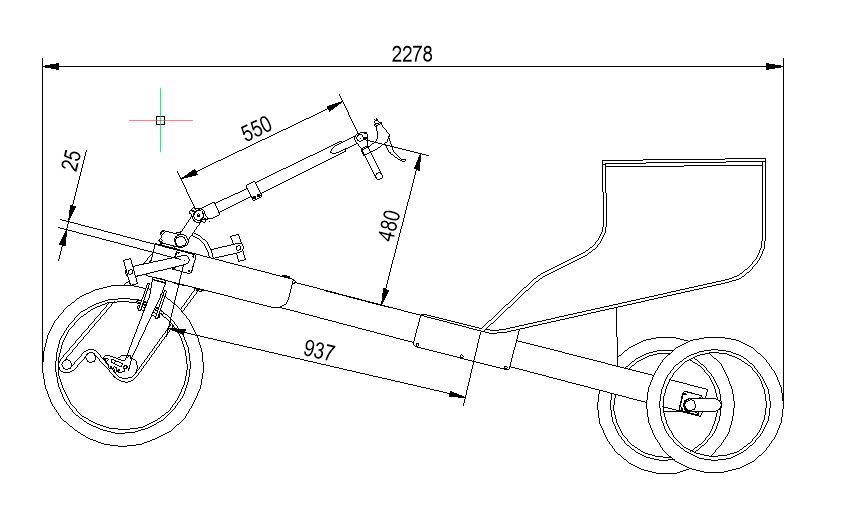
| Potential new moving bracket layout and |
 |
| an equivalent fixed bottom bracket bike. These are about 220mm shorter than the current fixed bottom bracket version, as the crank and seat are shoved forward, so the rear wheel frame can be shorter. |
Update July 6
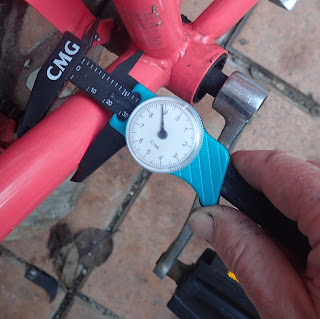
Today I went up to the local cafe on the bike and it went surprisingly well. I can get on and off it smoothly when its rolling and accidentally took a less cautious route there which involved some road riding. After I'd just left the cafe, a friend called me to say some stuff I'd left behind was in her letterbox. So I said I'd go and pick it up then. The extra 2-3k of riding were welcome, and I rode them cautiously on bike paths. Going up a short steep hill it started making strange noises and I discovered soon after the bottom bracket was creeping sideways. But I got home fine with more cautious riding.
 |
| Noooooooo! |
Regards
Steve Nurse


