News and Events

Keep up to date with the latest news and events of Modular Bikes.

Wednesday, August 29, 2018

Velocino

As at least night...

Fossicking for parts, I used the top stem shown here....

to make this thing, a holder to keep 2 tubes parallel.  Here it is jigged with a couple of extra parts to ensure its lined up before brazing.

End of the day, the handlebars are only sitting in place, but its quite close.

Front view

Handlebar folded which is.....

a copy of this bike which I made and sold in 2012 . It had an ex moulton 2-speed kick back gear.

Lights and 3d printed end stoppers on my recumbent, I plan to make similar for the Velocino.
Hi, not much to say here.  I looked up my old blog posts to work out what I'd done with the handlebars of my old Panasonic folder. Regards

Steve Nurse

Saturday, August 25, 2018

New Bike Part 2

Sawing off the fork lugs.  They were welded in, not brazed, so just heating them up wouldn't have done the job.

Lug removed

New lugs in place

Sawed up Oyama frame.  I decided not to use these parts straight away and make a trike instead, so these bits will go to the recyclers or storage.

Jigging the new lugs so they can be brazed in the right position.

Estimating the V-brake position.

V-brake jigging and checking allignment with dividers

Nasty surprise in the Byk back wheel, the rim tape was soft rubber and not suitable for the hollow rim, the tube was close to puncturing through bulging into the hollow rim.

Trendy Tokyo Bikes in Fitzroy,

.......  and nearby Anchor BMX where I went in search of 451 wheels, tyres and tubes.

Forks and other bits.......

During the painting process.
Hi, I've been progressing with the bike a bit, there are a few photos above.  I scouted out a few likely places for 451 tyres, tubes and wheels without immediate success, but really just wanted an excuse to get out and ride on a very nice first day of spring type day.  Anyway, I did come back with black spray paint and have been finishing off the forks and steerer for the trike (decided to make a trike instead of a bike) as well as spraying the front part of the Velocino. Continued here

Regards

Steve Nurse

Sunday, August 19, 2018

New Bike Part 1

One of my current trikes with the new fork and front wheel next to it. The lower fork height (green lines) means the new bike will be a bit lower than the old one. I'm interested in getting a 3d printed version of the part squiggled in blue, see photos below.
The stripped Byk Frame.

Clean swap for an 8 speed 40t Sunrace cassette from the old 32t largest cog one supplied on the Byk.
Byk front wheel and forks.
Spreading the fork to take the wider rear wheel, a couple of round tubes slipped over the fork legs add leverage.
Back wheel fits nicely.
Oyama frame and front wheel
A bit of a start I had made on the steerer, here is some detail,

..... and here is the whole thing.
Frames side by side,

..... and another view.
Steel frame weight.

Alu frame weight.
Sketch for discussion with parts supplier. This is the steerer tube and bottom bracket casting, its equivalent is squiggled in blue in the top photo and seen.....

top right in this photo. The new front fork will make the new bike a bit lower (and faster, woohoo) than the old one. 

Trying some steerer tube bearing parts on the steel frame bottom bracket - they seem to fit ok and the steerer bearings should make things a bit lighter compared to bottom bracket bearings.


Hi

Over the last few days I have been working on a new bike, as started in my last post. I've been taking apart the Byk bike, and gradually pottering around and planning with the pieces, seeing if they will fit together with other pieces, dragging bits out of the shed and doing the occasional bit of modification.  I came across a 20" folding bike frame and got that out.

Its interesting to compared the Byk frame to the red folding Oyama.  The Byk is aluminium, and weighs about 1/2 as much as the steel Oyama. But the Oyama folds, is slightly bigger to suit adults, and I can weld and bend steel, so do a bit more with the Oyama.  The plan is to saw a frame and use the rear triangle on a new bike and add rear suspension. This is like some bikes I built a while ago.

A few engineers I used to work with make machines which 3d print aluminium, and I went to see them in Dandenong on Thursday.  Its possible I will be able to get some parts from them, so that's a bit exciting too.  Very happy with progress sofar! Continued here

Till next time, Regards

Steve Nurse


Monday, August 13, 2018

2 New Projects

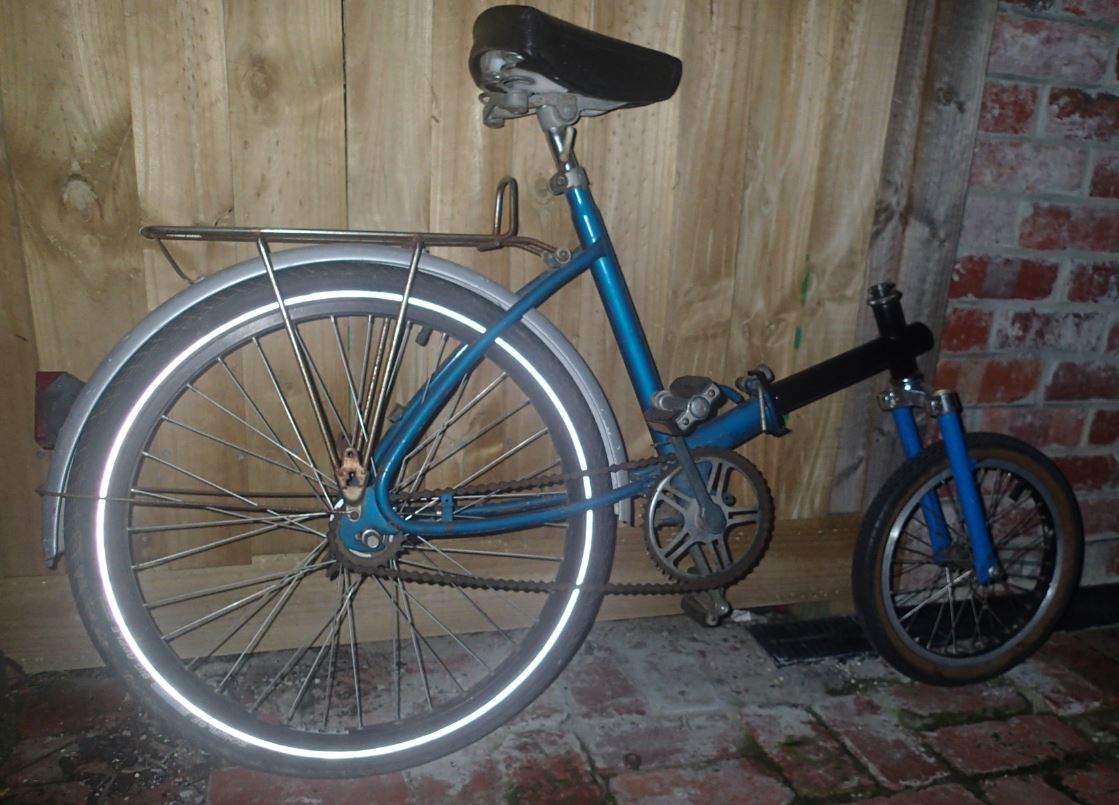
Victoria separating bike with Velocino front end....

and the same thing with wheels.

Velocino in its heyday... well ok, it never had one.
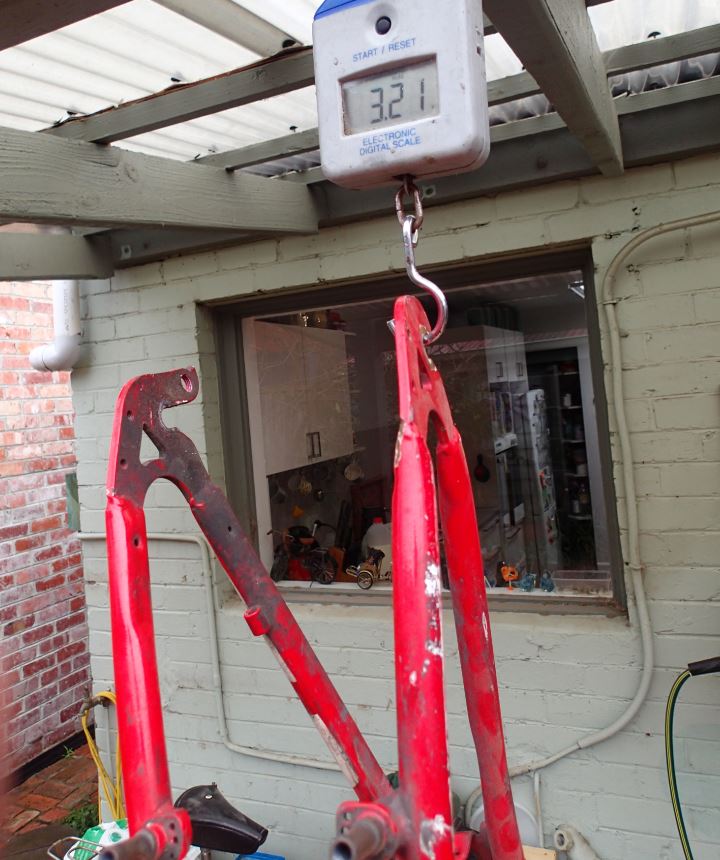

Byk E450X8

Checking out brake cabling: after swapping to a mini-V brake, this arrangement will work, just like....

this one does on my wooden trike.

Cranks with 2 sets of pedal holes.

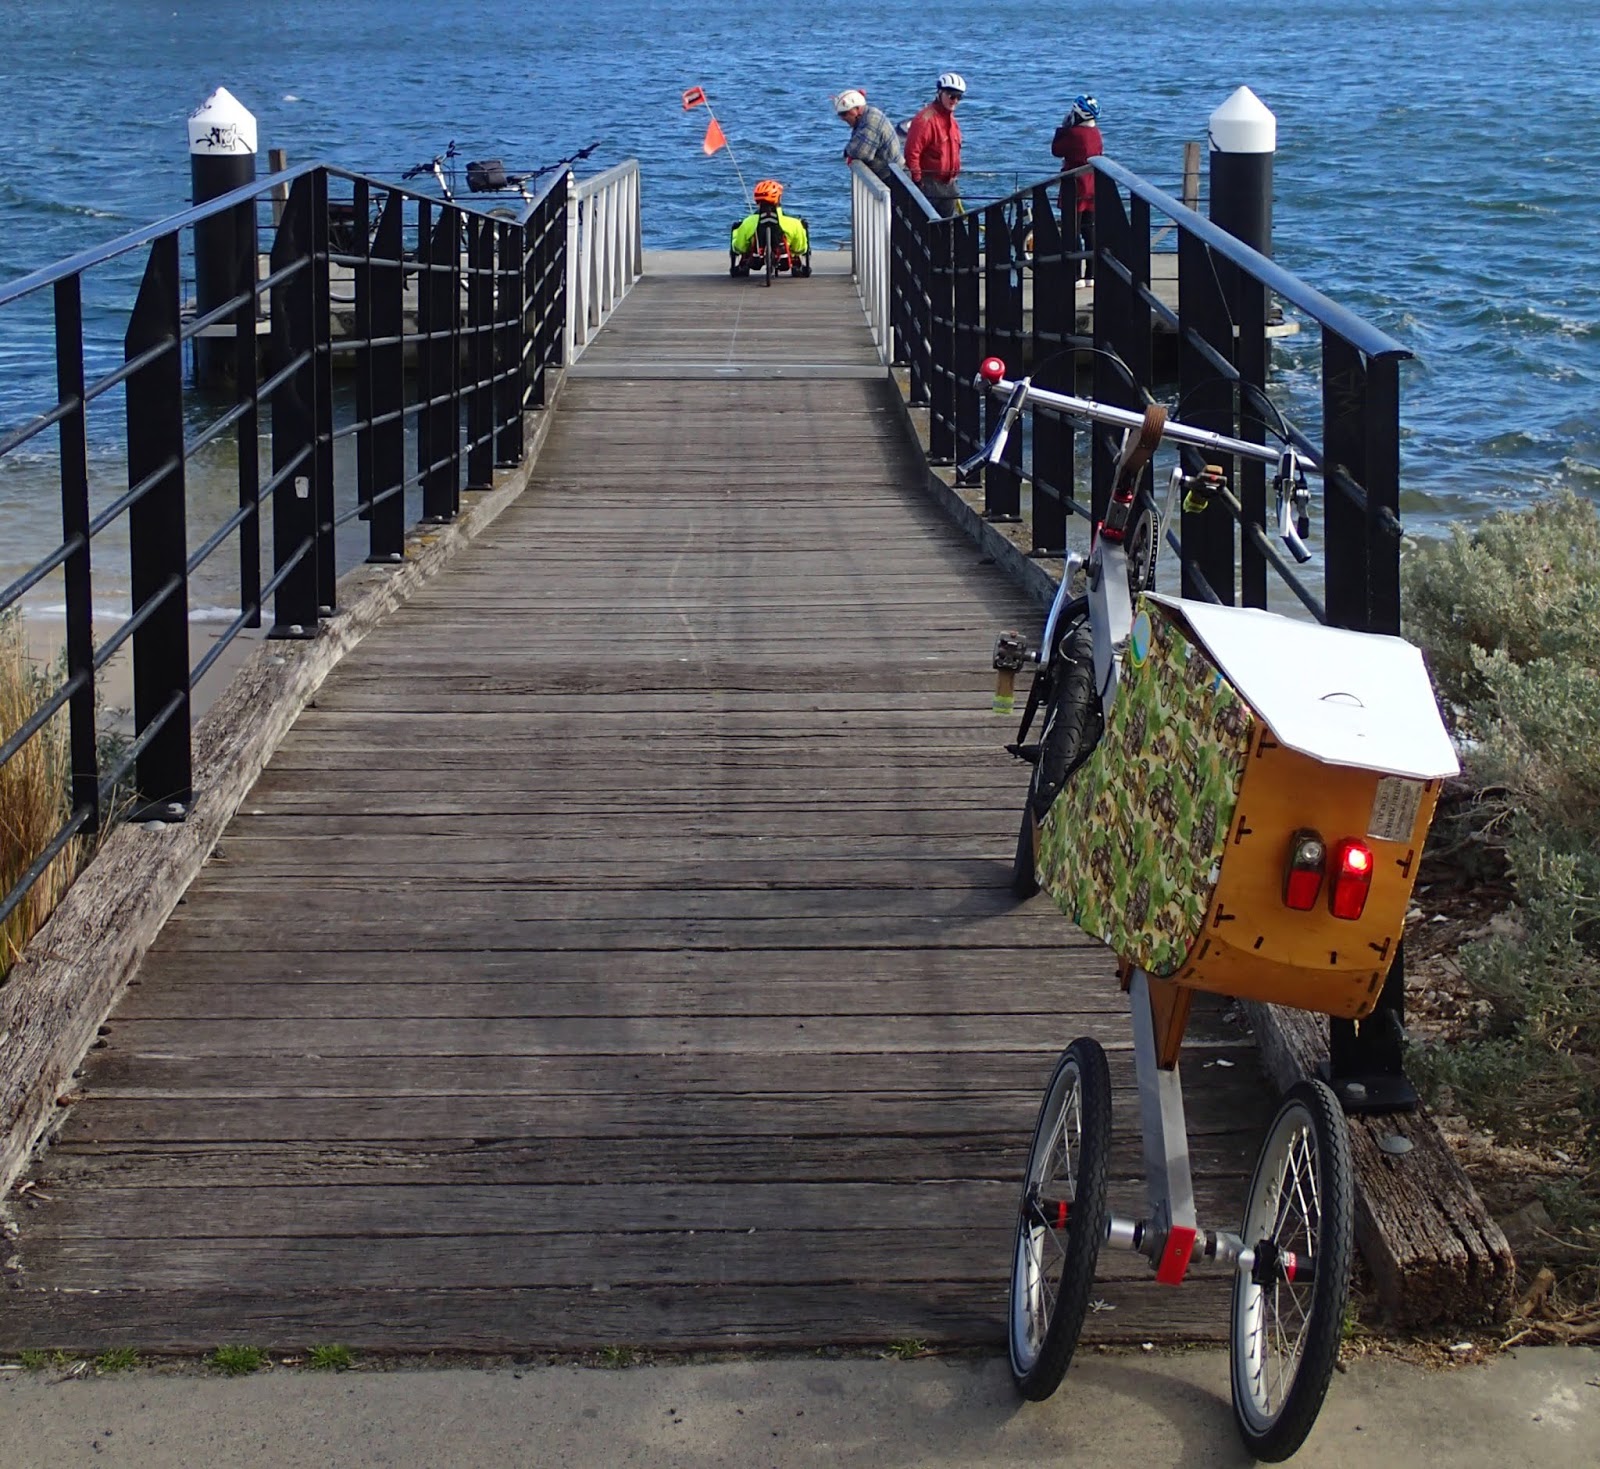
Of course, when you are dealing with 451 wheel bikes you wander around then see them everywhere.  This was taken on a pleasurable post office, pub and supermarket shopping trip. Foreground: Tokyobikes mini-velo, background, modularbikes leaning trike.


Hi

After some time spent fixing some fairly standard bikes including some donations to Wecycle, I have hauled some projects of my own round to the back yard.  For a while, I haven't been building anything new because I have too many bikes already and wanted to sell one on ebay before starting again. But the ebay bike (still there, still a bargain) hasn't budged and its been a few months, so I'm breaking my drought of building.

Project 1, Velocino Convertible

Quite a while ago, I bought some Victoria separating bikes.  They are like folding bikes, but instead of folding split into two.  The red one I had was fixed up, sold to a friend, was donated back to me and eventually sold for charity.  And the blue one.....

Well I've treated it as an experimental bike, lavishing attention on it, then ignoring it for long periods, before returning to it to hack away again.  Upgrades have included making a Velocino front end for it that was never finished off, fitting a Sturmey-Archer S2C rear hub to it, and then swapping forks so the front wheel is 20" instead of 24" to carry more load over the front wheel.  A few weeks ago, the long suffering Victoria had a tyre switcheroo done on it, leaving it front wheelless.  Since then, on windy, rainy, stormy nights, I can hear it creaking "help me" as it sits forlornly outside.* But it does need fixing up!  Paint, derusting, pack racks, steering for Velocino etc quite urgently required.

Project 2, Byk Trike

For a few weeks, a rather good kids bike has been available at Wecycle, a Byk E450X8 and last Saturday I finally bought it, getting it at heavily discounted mates rates.  Its got the "narrow tyre 20" " (451) tyres on it, cassette rear sprocket and a light frame.  The plan is to convert it into one of my recumbent bikes or trikes, and I've been scoping the parts for potential uses as I dismember it.  More to come on this project.

Regards

Steve Nurse


* Note: not actually true

Monday, August 6, 2018

Mural Ride

Leaning trike as transport mural
Recumbent and electric bike mob in St. Kilda, Glen's new Trisled trike in red.
My trike and an admirer
Waiting for the punt to Williamstown in Port Melbourne.
Punt pier, Dale centre with horns on helmet.
Detail of the real, big-ass transport mural from one of the better viewpoints.
Viewing not quite so good from other positions
Hi

A few weeks ago, the combined talents of my wife Christine and I made some "classic transport" panels for my best bike, and I rode it to World Bike Day soon after.  I showed my friend Simon Watt a few pics of it, and he said it reminded him of the Southern Cross Station Transport Mural.  Although I'd seen that mural quite a while ago when the station was still called Spencer Street, I thought I'd try and track it down again just for the hell of it. 

A quick look on the internet revealed its current location, and a "Be Spon" ride came up that could land me in the general area of the station, so yesterday morning I headed off for the ride to St Kilda, met up with friends there, then visited the transport mural on the way home.  I did a bit of a blocky to find the Outlet Centre where the mural is, but was not to be discouraged and eventually found it right in the station building. 

The mural is right up one end, and you have to look up, and through various lights, shop ads and other paraphenalia, and you only see bits of it from each of 3 or 4 shops. However, I can now say: * It is there, * I have seen it, and  * My own rolling transport mural got relatively close. * Nice to catch up with Glen, Dale and a few others on the ride.

Regards

Steve Nurse